
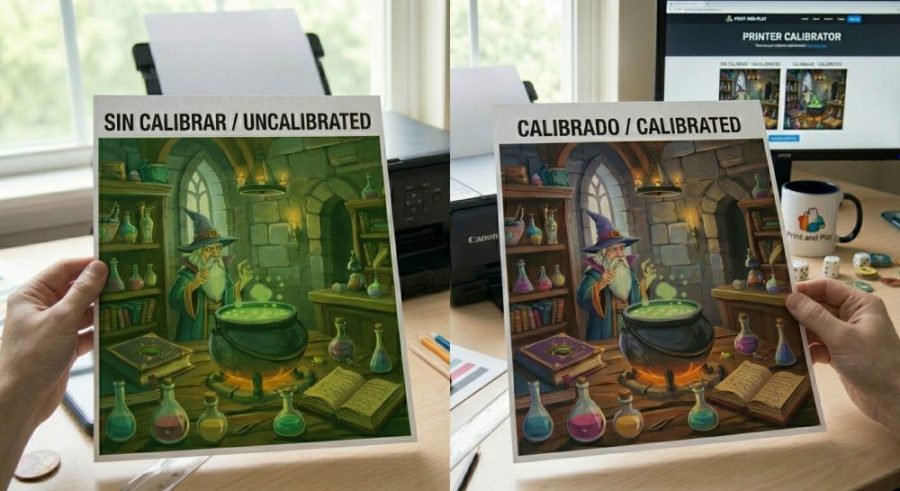
If you print print and play games at home, you’ve probably noticed it: the grays look slightly purple, or greenish, or just off. Cards that should look clean and neutral end up with a color cast that makes your games look unprofessional. The culprit is almost always the same — your printer’s color balance is slightly miscalibrated.
Most home printers ship with factory default color settings that don’t account for your specific ink, paper, or room conditions. The result: neutral grays become tinted, skin tones shift, and your print and play components look inconsistent across print runs.
Why Color Calibration Matters for PnP Games
Print and play games often use subtle color cues — gray card backs, neutral background textures, color-coded game pieces. When your printer is even slightly miscalibrated, these neutrals pick up a tint that makes your components look cheap or inconsistent.
Unlike commercial printing, home printers don’t recalibrate automatically. Every new ink cartridge, paper type, or even humidity change can shift your printer’s color balance. If you’ve ever printed the same file twice and gotten slightly different results, calibration drift is likely to blame.
How the Calibration Tool Works
The tool below generates an 81-square calibration grid. Each square shows a slightly different mix of Cyan, Magenta, and Yellow ink — columns vary the Cyan balance, rows vary the Magenta balance, and Yellow is kept balanced automatically.
Your eye is very good at detecting when something is a true neutral gray. Once you find the square on the printed sheet that looks closest to a clean, neutral gray, you enter its coordinate (like E5 or C3) and the tool tells you exactly how to adjust your printer’s CMY settings.
Step-by-Step Instructions
- Set Max Deviation — Start with 10%. This controls how wide the color range is across the grid.
- Print the calibration sheet — Click “Print Calibration Sheet.” Use the same paper you use for your games. Don’t change any printer color settings yet.
- Find the neutral gray — Under good lighting, find the square that looks like the cleanest neutral gray (no purple or green tint).
- Enter the coordinate — Type the coordinate of that square (e.g., E5) into the tool. It shows the exact Cyan, Magenta, and Yellow adjustments to apply in your printer settings.
- Apply and reprint — Enter those values in your printer’s color management settings and reprint a test page.
Printer Color Calibration Tool
Use the interactive tool below. Available in English and Spanish — toggle the flag in the top right corner.
Easy Printer Color Adjustment
Step 1: Set max deviation and print this page.
Step 2: Find the square on the printed sheet that looks like the cleanest neutral gray.
Step 3: Enter that coordinate below to get printer settings.